Budget Control Without Cheap Results
Cost Optimized Parking Shades in Saudi Arabia
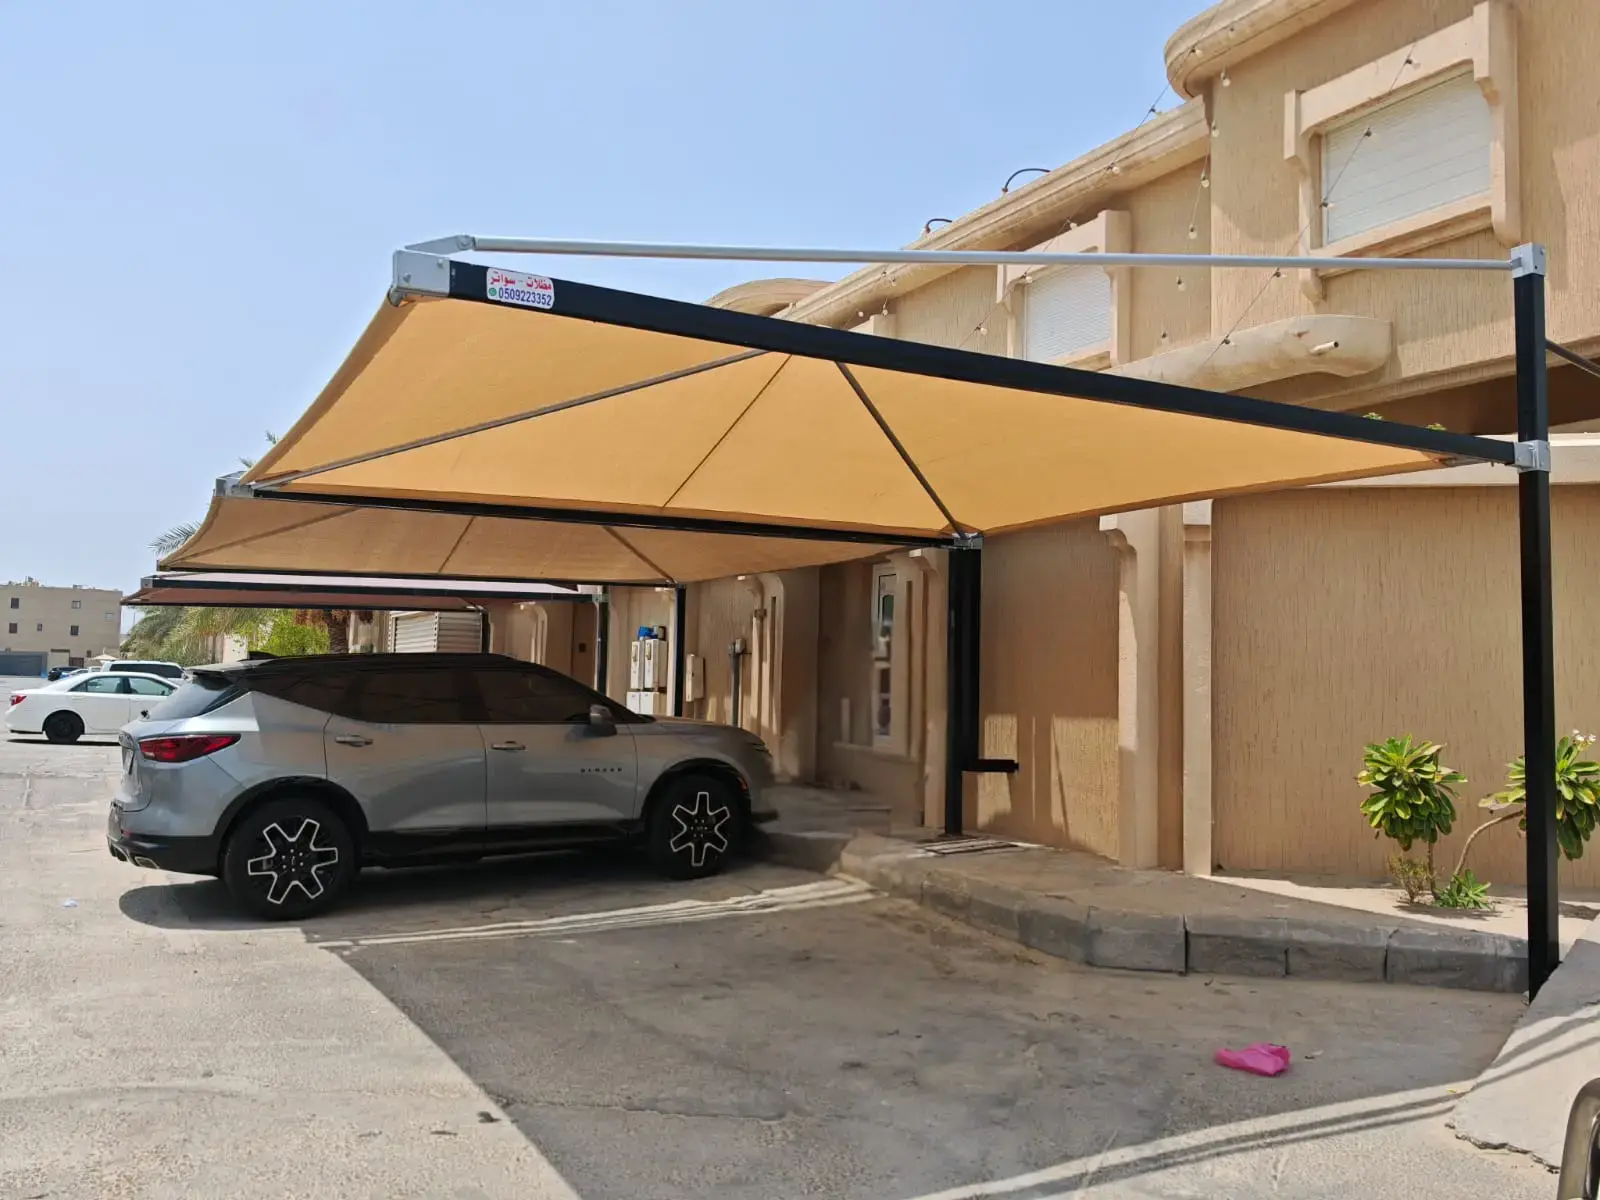
Cost optimized parking shades are value-engineered systems: repeatable bay layouts, controlled detailing, and exposure-matched materials that protect budget while keeping the structure reliable and tidy on site.
When cost optimized is the right decision
Cost optimized parking shades make sense when the site needs reliable coverage, but the budget cannot carry custom geometry, premium finishing, or complex detailing. The cost reduction comes from disciplined choices: repeatable bay modules, efficient spans, and a controlled finish level that still looks professional. If your primary goal is maximum cabin comfort and UV reduction outcomes, use UV & Heat Protection Parking Shades.
Best use cases
- Villas and private parking areas with defined bay count
- Compounds where repetition reduces cost and improves consistency
- Small commercial rows that need clean coverage with controlled finishes
- Projects where speed and predictability matter more than custom form
- Sites that want a practical spec without turning the project into “cheap work”
Typical specifications
Where “cheap” fails and cost optimized wins
Anchors and civil work shortcuts
The fastest way to lose the whole project is weak foundations: bad bolt templates, misalignment, shallow embedment, or rushed concrete. Cost optimized does not touch base discipline because that is where failures start.
Random bay sizes and scope drift
Mixed bay widths, changing heights, or “just add one more bay” destroys budget control. A value-engineered job stays affordable by using repeatable modules and freezing scope early.
Finish confusion that makes the site look messy
Even a simple shade can look premium when rows are straight, heights match, and edges are clean. If you need industrial exposure durability rather than budget optimization, move to Heavy Duty Parking Shades. If you want cleaner circulation and no front posts, see Cantilever Parking Shades.
What we standardize to keep pricing controlled
- Bay module logic: repeatable spacing to protect steel + membrane quantities
- Practical detailing: clean edges and stable tension without expensive complexity
- Material matching: choose what fits the exposure, not what looks good in a brochure
- Installation workflow: survey → drawings → fabrication → site alignment → handover
Installation approach
- Site survey and bay mapping
Confirm bay count, circulation, and anchoring zones. - Scope lock
Freeze module sizes, finish level, and membrane choice to protect budget. - Drawings and quantities
Set spacing rules and row consistency so procurement can compare cleanly. - Fabrication and finishing
Controlled welding + coating discipline with repeatable components. - Installation and handover
Alignment checks, tension verification, final inspection.
Frequently asked questions
Does cost optimized mean lower structural safety?
No. Cost optimization comes from layout efficiency and controlled scope. Base discipline, connections, and exposure suitability are not sacrificed.
Where do savings usually come from?
Repetition, module consistency, practical detailing, and faster installation. It’s fewer variables, not weaker structure.
Can I upgrade finishes later?
Yes, but upgrades typically remove the cost advantage. Lock finishes early if you want predictable pricing.
Is this better than “standard specification”?
Different goal. Cost optimized is budget-first. Standard specification is procurement-first for predictable approvals and repeatable submittals.
What do you need to price a cost optimized shade project?
Bay count, approximate dimensions, site photos, and any constraints like access limits or underground services. A simple layout helps us lock scope quickly.